Physical Address
304 North Cardinal St.
Dorchester Center, MA 02124
Physical Address
304 North Cardinal St.
Dorchester Center, MA 02124
Cutting a belt may seem simple, but it requires precision and the right technique. Many people find themselves needing to customize their belts for better fitting or fashion purposes. This guide details how to cut a belt effectively, helping you achieve a professional result.
Before beginning any modifications, choose a belt that suits your style and needs. Different materials impact how you approach cutting. For instance, leather offers durability but requires specific tools. Conversely, fabric tends to be easier to cut, while synthetic materials vary in texture and flexibility. Therefore, consider your belt’s purpose, such as daily wear or formal occasions, before making a selection. A well-chosen belt will enhance your outfit rather than detract from it. If you decide on a belt you cherish, think carefully about potential modifications.
Once you choose your belt, prepare for the cutting process. Start by gathering the necessary tools, such as scissors or a cutting knife. Each material demands different tools, so verify your choice aligns with the belt type. Measure carefully to ensure you cut the correct length. Taking measurements helps prevent mistakes and ensures a better fit. If you are uncertain about the cutting process, practice on a scrap piece.
This practice will give you a sense of what to expect. Also, ensure you have adequate lighting while working for precision. A well-lit workspace reduces the chances of errors. Finally, proceed with caution, especially when modifying a favorite belt. Adjustments can be irreversible, so weigh your options wisely. By following these steps, you can achieve a tailored look with confidence and style.
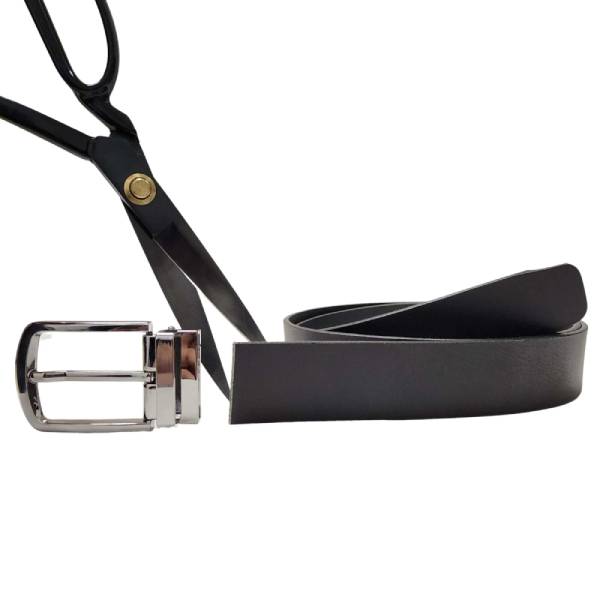
To begin cutting a belt, first gather the essential tools. A ruler or measuring tape ensures accurate measurements. Meanwhile, a marker or pen helps you mark where to cut. You’ll need a sharp pair of scissors or a craft knife for clean cuts. If you’re cutting leather, consider using a specialized leather cutter for better results. Having these tools ready saves time and effort during the cutting process. Preparing everything in advance allows you to focus on making precise cuts. This preparation step proves crucial for achieving a professional finish.
Once you have your tools, measure the belt to determine the cut. Use the ruler or measuring tape for precise measurements. Mark the desired cut with a pen or marker to ensure clarity. After marking, double-check the measurements to avoid mistakes. Carefully cut along the marked line with your scissors or craft knife. Take your time to make sure the cut is even and straight. If you’re using a leather cutter, follow its specific instructions for best results. After cutting, inspect the edges to ensure they’re smooth. This attention to detail enhances the belt’s overall appearance. Finally, your belt is ready for use, perfectly tailored to your needs.
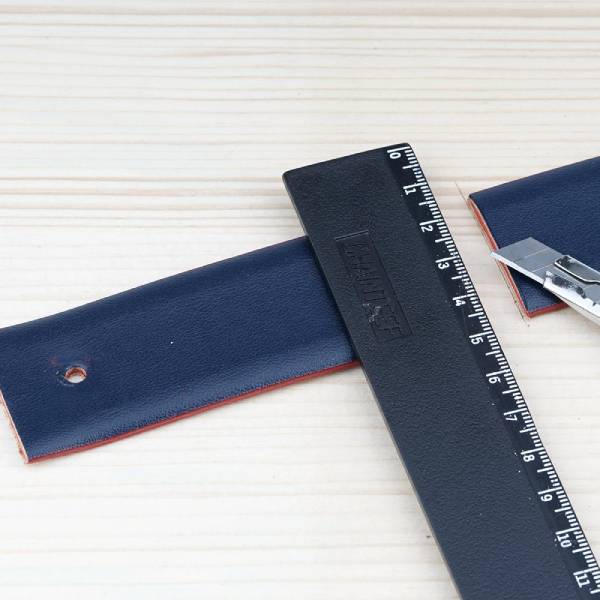
Accurate measurements are key in this process. Start by wearing the belt to identify the best fit. Mark the spot on the belt where you feel comfortable. This ensures that the belt will fit well after cutting. Next, grab a measuring tape or a ruler for precision. Measure the distance from your marked point to the end of the belt. This measurement will guide your cutting process. Double-check your readings to avoid mistakes. Taking time in this step will save you from potential issues later. If you cut incorrectly, you may ruin the belt. Thus, accuracy during measuring is crucial.
Once you have your precise measurement, you can move to cutting. Use sharp scissors or a cutting tool to ensure a clean cut. Align the tool with your marked point for accuracy. Carefully cut along the marked line, while applying steady pressure. After cutting, check the new end of the belt. Make sure it aligns well with the original point. You may want to try the belt on again. If it fits comfortably, then your cutting process was successful. If not, consider if you need to make further adjustments. Each step builds on the previous one, enhancing the overall outcome. Taking these careful measures leads to a well-fitting belt that meets your needs.
Once you have your measurements, it’s essential to mark the cutting line accurately. Use a marker or pen to draw a line along the belt. Focus on making the line as straight as possible, since any deviation can result in an uneven cut. An uneven cut can lead to frustration or the need for additional adjustments later. You should take your time during this process, as precision is critical. A carefully drawn line provides a clear guideline and ensures you cut along the intended path.
Now that you have a marked line, you can begin cutting. Use sharp scissors or a suitable cutting tool to follow the drawn line. Ensure that you cut slowly and steadily to maintain control over the tool. If you rush, you may drift away from the line, leading to mistakes. Once you finish cutting, review the edges and ensure they are clean and even. If necessary, trim any uneven areas for a polished finish. Taking time to cut carefully pays off, as this attention to detail ensures a better final product. A well-executed cut enhances the appearance and functionality of your project. It will also prevent future problems during assembly or use. Overall, patience and precision make this step worth the effort.
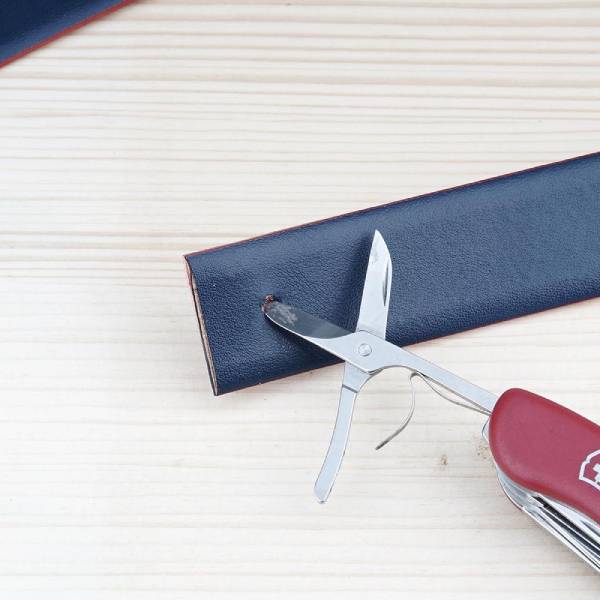
Now you are ready to start cutting. Depending on the material, use the appropriate cutting tool. For leather belts, a sharp craft knife works best. For fabric or synthetic belts, scissors should suffice. Follow the marked line closely. Cut slowly to ensure a neat finish. If your belt has holes for adjustment, consider how the cut will affect them. When customizing your belt to fit perfectly with the biggest belt buckle, ensure precise cutting for a polished and stylish look.
Once you finish cutting, you must smooth the edges. Using sandpaper or a file, gently smooth any rough edges left from the cut. This step is essential for leather belts, as rough edges can become uncomfortable. For fabric belts, this step might not be necessary, but it will contribute to a polished look. When creating a belt for a 33 waist, ensuring smooth edges is crucial for comfort and a polished appearance.
Finally, you may need to re-attach the buckle. If you cut off a significant portion, you may need to move the buckle to the new end. Most buckles can be adjusted easily, though some may need special tools. Ensure the buckle is secure after reattaching. A loose buckle can lead to the belt coming undone. When following a Belt Sizing Guide, remember to securely re-attach the buckle for optimal fit and functionality.
In conclusion, knowing how to cut a belt can save you time and money. You can customize your belts to fit your style and comfort. By following these steps, you can achieve a professional look. Always take your time and measure twice. A well-cut belt can enhance your wardrobe and make a statement. So, the next time your belt doesn’t fit, remember these steps and go for it!